Have you ever had a tool so trustworthy and dependable that you neglected to use any other of its kind? That was my relationship with my eyelash curler. It's a Personi eyelash curler that I purchased from Beautychoice.com a looooonggg time ago (back in 2009). I purchased it as a set with a bunch of other stuff, and the whole set was $50. Just last week, the dang thing cracked and my eyelashes got stuck inside the crack. It was a pain in the asscrack to pry my lashes out. I had a few casualties =(
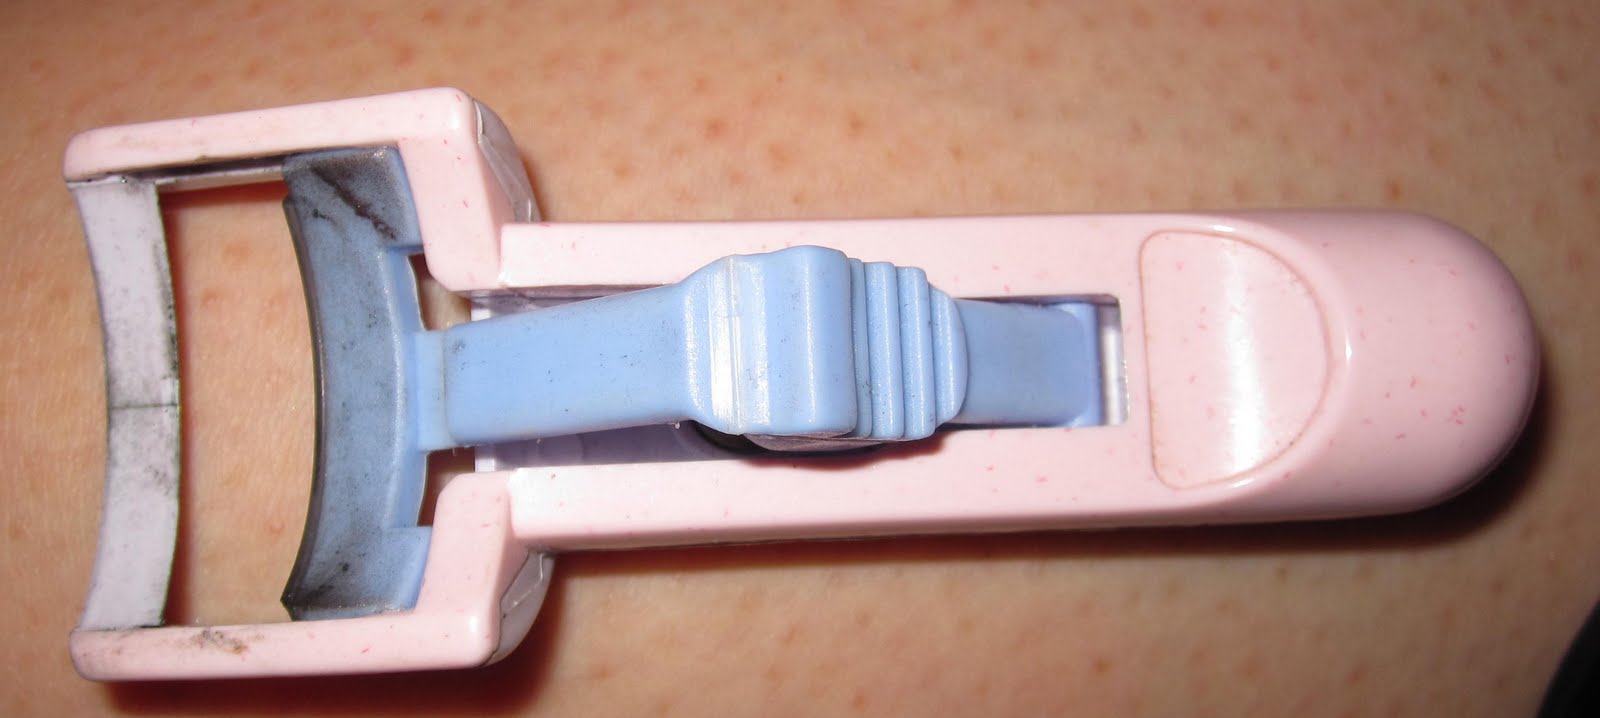
Unfortunately, they do not sell the eyelash curler individually, and I'm not willing to fork over another $50 for the curler alone. I resorted to a pink ELF curler I bought as a backup a little while ago. It didn't function as well as I had hoped, especially when I've heard so many good things about it. I went to Sephora and asked for their best eyelash curler, hoping that it would last me much longer. The makeup specialist recommended their own brand which seemed a little fishy, but I just went for it.
ELF on the left, Sephora on the right.
I only used the Sephora curler once, but so far I think I like it. I've never seen reviews for eyelash curlers, but I dang well think it's time to for me to do some.
What eyelash curler do you rely on to open up your blinkers? I know there has been a lot of rave about the shu uemora curler a while ago, but those are no longer sold in the U.S. I'm really curious as to which other ones work well for you guys, so leave a comment below and let me know!
My boyfriend's baby sister is having her prom in a couple of days, and asked for some advice in terms of makeup. Since we're in different countries, I couldn't do her makeup personally. And being the beauty blogger I am, I decided to do both a video makeup tutorial and a picture tutorial for a makeup look. She requested a green and silver look to match her dress. This is the first time I've made a picture tutorial and it is very very lengthy. You have been warned. If you just want to skip to see how the makeup looks, just scroll all the way down! Also, this is the first of (hopefully) many looks using my neglected UD Alice in Wonderland palette.
Start with an eyeshadow primer. Apply it all over the eye, up to the browbone,
into the lower lashline, and in the inner corner of the eye.
Apply a green cream eyeshadow on the lid.
It should look like this.
Blend it out with your finger.
And then it should look like this! Don't worry about not being able to see
much of the green anymore.
Take a green eyeshadow (preferably one that matches the color of your dress)
with an eyeshadow brush.
Pat the eyeshadow all over your lid. It should look like this.
Take some silver eyeshadow on a blending brush.
Start depositing the color on the outside of the crease above the green.
And it should look like this!
Reapply the green eyeshadow as needed. Blending usually takes away
some of the color.
Go back to the silver with a small eyeshadow brush or a q-tip.
Place the silver in the inner corner of the eye, and down a bit into
the lower lashline.
And it should look like this!
Go back into the green with a small eyeshadow brush or q-tip.
Place the green into the middle third of the lower lashline.
Take a bit of black eyeshadow on a pencil brush.
Place the black eyeshadow in the outer V of the eye. Blend it a bit into
the upper lashline as well.
Bring the black eyeshadow down to the lower lashline to
meet the green.
Blend some more silver into the crease.
Again, reapply the green eyeshadow.
Take a matte eyeshadow that is slightly lighter than your skin.
Place it on your browbone and blend downwards.
Line your upper and lower waterline.
And it should look like this!
Line the upper lashline.
Line the lower lashline, about halfway towards the inner corner
of the eye.
Take a matte black eyeshadow with an angled eyeliner brush.
Apply the eyeshadow over the liner to make it more long lasting.
Curl your three times: once at the base, once in the middle, and once at the end.
Apply a waterproof mascara.
And you're done!
~*Products Used*~
Face:
-Tarte Silicone Free Face Primer
-Smashbox Foundation in Light 3
-L'oreal TruMatch Foundation in N6
-Maybelline Dream Mousse Concealer (discontinued)
-Lancome Concealer (discontinued)
-Laura Mercier Translucent Setting Powder
-NARS Laguna Bronzer
NARS blush in Deep Throat
-ELF bronzing powder
Eyes:
-UDPP
-NYX Jumbo Eyeshadow Pencil in Horseradish
-UD e/s in Absolem, Vorpal, and Jabberwocky (from Alice in Wonderland BoS)
Tangy was amongst my first purchase of Zoya nail polishes. This is such a fun bright color, but unfortunately I was so sloppy with my application that some of my finger nails looked diseased. This pictures features 3 coats of Zoya's Tangy nail polish. It's actually quite sheer, and if you look closely, you can see the line where the pink part and the white part of my nails meet.
Tangy also has a slight duochrome to it. There is a hint of orange in this green apple color that makes it really something special. A lot of Zoya nail polishes have this duochrome effect, which is probably the biggest reason as to why I'm such a big fan of them.
Tell me--what are your secrets to a smooth, even finish? My nails always get messed up one way or another, as you can see in the picture above.
I was perusing through blogs one day and came across Claire's post about a Project 7 Palette. This project was originally coined by emilynoel83 of youtube. It is a way to break out of a makeup rut by selecting an eyeshadow palette that gets very little use or has not been used in a while, and using it everyday for a week to create a different look each day. I had actually been thinking about how little use my Alice in Wonderland palette was getting, and soon after I came across Claire's post about wanting to use this very palette for the her Project 7 Day Palette. This really intrigued me so I also made a commitment to use my own palette whenever I got stuck in a makeup rut. I don't put on makeup everyday, mostly due to time constraints, so Project 7 Palette doesn't really work for me. I'm not restricting myself to use only this palette so....I guess I'm not really doing Project 7 Day Palette at all, but only promised myself that I will use it more often. I'm so tired I can't really think. But here are some pictures of the palette, which was unfortunately limited edition.
Ain't it a beaut? I don't understand why I don't use it more often. Maybe it's because of the very impractical packaging.
I went shopping today with my boyfriend and my roommate today. I wanted to do something fun and bright, but not over the top dramatic. I looked at one of my Inglot palettes and saw the pink and the blue sitting together, so I decided to make something out of it. I found out that the pink has very mediocre pigmentation, as did the green Maybelline eyeshadow I used in the inner corner. This picture was taken after my shopping trip which was about 6 hours later, hence the fading of the eyeshadow and the oily face. I was also super freaking tired so I didn't do my usual routine of taking over 9000 pictures and picking out the best ones.
~*Products Used*~
Face:
-Tarte Silicone Free Face Primer
-Smashbox Foundation in Light 3
-L'oreal TruMatch Foundation in N6
-Maybelline Dream Mousse Concealer (discontinued)
-Lancome Concealer (discontinued)
-Laura Mercier Translucent Setting Powder
-NARS Laguna Bronzer
NARS blush in Deep Throat
-ELF bronzing powder
Eyes:
-UDPP
-MAC Painterly Paintpot
-Maybelline EyeStudio e/s in Ivy Icon
-INGLOT e/s in AMC70, AMC66, and DS467
-UD 24/7 Liner in Zero
-Stila Smudgepot in Black
-L'oreal Waterproof Carbon Black Mascara
Lips:
Nothing :)
Sorry for the lack of posts, guys. Been a lot of unhappy stuff happening. But there's tons of stuff to come! I promise! Thanks for hanging in there and stopping by :)
Lots of love,
Janny
P.S. I'll post a haul from my shopping trip in a week. One of the items I wanted was out and so the store had it shipped to me instead.