Well it's not a secret for much longer but that's okay. I see a lot of fancy methods of brush drying out there, anything from using brush guards to toilet paper to hanging them on clothes hangers to taping them to walls. No joke, ladies. The method I use either reflects my laziness, my lack of time, or the simple convenience and lack of fancy gadgets. I like to think of it as the last option lol.
What I do find a flat surface, and lay a clean towel over it. The towel will absorb the water from the brushes and just act as a clean surface to put the brushes on. Next, I put something on one end to prop my brushes on. In this case, I used my straightening iron (haha!). The inclined angle keeps water from seeping inside the handle and breaking up the glue that keeps the brushes all together. You can see that my kabuki brush is placed directly upside down. Just spread out the bristles a bit and the brush will stand just fine. The bristles of a good kabuki brush should be able to hold the weight with no problem, so you don't have to worry about it looking funky after it dries.
There it is folks! It's fast, easy, and brainless. Most brushes dry over night in this fashion. Just make sure to use a clean towel each time.
Back to reading I go =( I still have 50 more pages to read about Taoism. It's interesting but so loooonggggg!
Been wanting to do a favorites video for a looooong time, but I have been either lacking time to make the video or lacking time to use products. One of my new year's resolutions for 2011 is to use makeup everyday (except when I'm cramming my socks off for exams and such) and be able to dish out these favorites videos every month. I have used a lot of good stuff and I wouldn't be much of a blogger if I didn't share them with you. The Youtube video will essentially say almost exactly what will be on this blog, but I leave it to you to either enjoy it in video or text form. Personally, I prefer text so that's why I leave the choice up to you. And without further ado.....
L'oreal HIP Cream Liners in Teal and Midnight Blue
Bought these maybe 8 months ago, and for some reason did not use them until the last month. These are dense but very creamy. The color pay off is simply amazing. I use these babies both as a base and as an eyeliner. My first black cream liner was L'oreal HIP but it dried up pretty quickly. Hopefully, these will stay creamy and wonderful till I've finished the pots!
Stila Backstage Eye Shadow Palette
I believe this was part of the holiday collection for 2010. It went on sale at Sephora and I had to snag it. Although it was pretty pricey at $19, it was definitely well worth the price. All the shadows are soft, pigmented, and blendable. Definitely look forward to seeing tutorials and a full review of this palette!
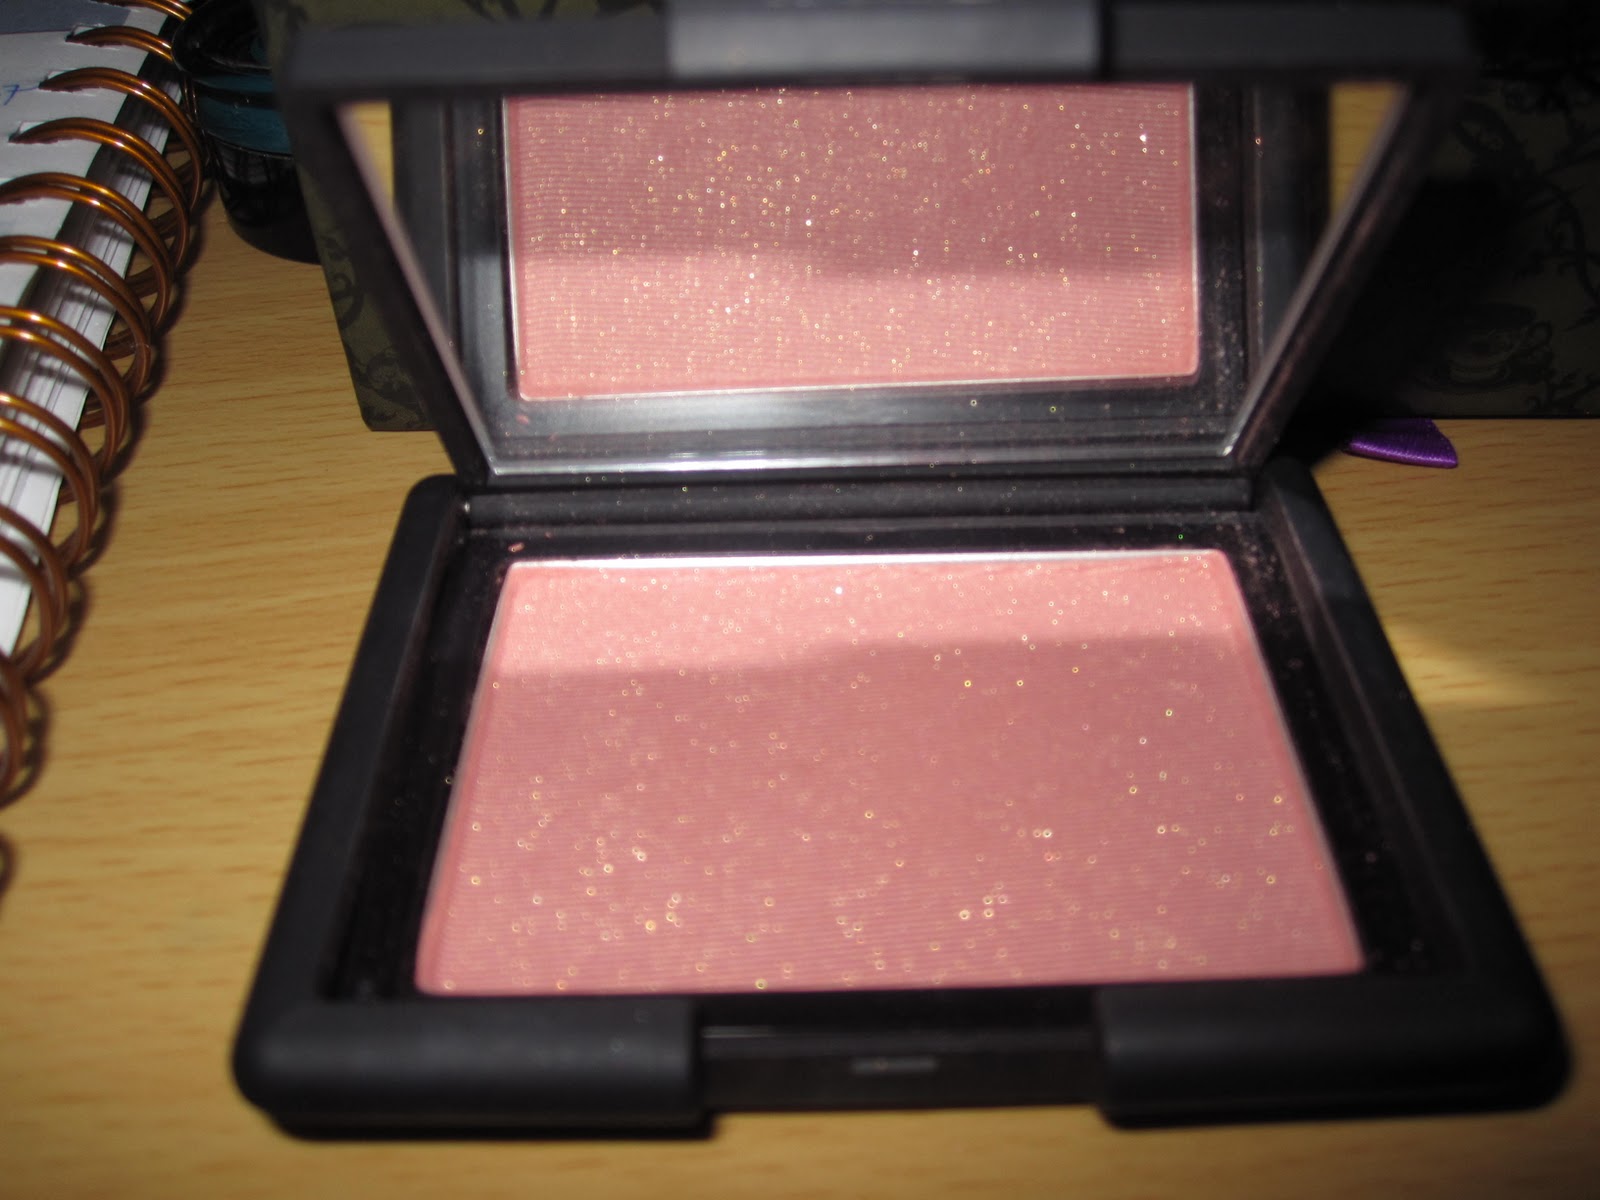
NARS Blush in Oasis
The picture does not do the product justice. I can't seem to get my lighting right! In the pan it looks like a warm golden brown with shimmer, but it applies as a beautiful pink blush that makes your cheeks glow. I have been reaching for this blush for both day and night wear.
ELF Studio Blush in Peachy Keen
Fie upon thee, camera. This is a wonderful peach blush that I always reach for when I do deep, smokey looks. It adds just enough glow to my cheeks as to not overpower my eye makeup. It is not as soft as NARS blushes, but I think it is almost if not just as good.
Maybelline Color Sensational Lipsticks in On the Mauve and Warm Me Up
Warm Me Up does just what it says it does, it adds more coloring to my lips in a very flattering way while still staying neutral. This lipstick is a soft pinky nude with a cream finish. On the Mauve is a lovely almost purple lipstick with a slightly metallic finish. This lippie is fantastic with many smokey eye looks. The texture of these lipsticks are smooth. They're not as creamy or soft as say MAC or Lancome, but they were great products nonetheless.
Here is a tutorial for you guys for one of the easiest way to create that sexy smoky eye look. I haven't posted on Youtube for a while, and I hate to put up filler videos and such when I have not posted any real content for a while. This is probably my third tutorial in a row, mostly because there is so much time between posting. Sorry! All my rantings and beauty subjects not significant to dedicate a video on usually go on my blog, and I must say I enjoy it more than doing videos. I get more feedback the the community seems smaller and more interested in beauty. On Youtube you get all kinds of people....
Ok enough ranting. Here is a video and some pics on the look, and a complete list of products used will be posted on the very bottom.
It doesn't seem to show up too well in the photos, but I used a lipstick that was lighter than my natural lipcolor. I hated how it looked applied alone but looks quite flattering with a gloss over it.
Face:
-Smashbox High Def Healthy FX Foundation in Light 3
-Cover FX Loose Powder in Light
-NARS Blush in Oasis
-NYC Matte Bronzer
-NARS Multiple in Copacabana
-Evian Facial Spray
Eyes:
-Sonia Kashuk Arch Alert Brow Kit
-UDPP
-Too Faced eyeshadow in Midnight
-Too Faced eyeshadow in Sugar Cookie
-L'oreal HIP Cream Liner in Midnight Blue
-UD 24/7 Liner in Zero
-L'oreal Extra Collagen Mascara
Lips:
-Burt's Bees Lip Balm
-Inglot Lipstick in 264
-Smashbox Lipgloss in Lovely
You guys are in for a real treat! The ladies of BeautyCrazed are giving away $400+ worth of Makeup Forever Products. This picture represents similar items that you may receive, but not representative of exactly what you will get. Make sure you check it out!
Hellooooo lovelies! I haven't recorded this tutorial yet, but I'll do it tomorrow and hopefully get it edited and uploaded before the weekend is upon us so maybe some of you can wear it out ;D I actually recorded another tutorial today and I want to get it uploaded....but that would be misleading because I just blogged about this look. Ooops. Anyhoots, a full list of products used and mo' pictures will be available once the video is up!
So this is certainly not a new idea amongst makeup organization, but I thought I would share with you guys because I bought this cute little bucket for only $1 at Target. It measures about 5 inches tall and 4 inches across at the top. This is perfect for holding the few lipliners that I do own, and all the lipglosses that I either use the most often, or want to use up. I've had to throw away some of my favorite lipglosses in the past few months because they had gone rancid, so keeping some in plain sight helps remind me to use these babies (especially the expensive ones!). Since the holiday season is officially over, you can probably find little Xmas things like this are heavily discounted.
I'm totally struggling with my makeup organization now that I'm back in my apartment and have purchased significantly more stuff over the holidays. I spend a good 2-3 hours trying to move stuff around and make the most of the little space I do have, but it is still far from perfect. I've given up for tonight but I'll be doing Round 2 tomorrow.
Tomorrow....school officially begins. Who is excited? ><
Boy am I late posting this! I got these goodies last Thursday, and haven't had a chance to post about it till now >< I cruised into CVS after work one night looking for a new hair protectant, and of course I had to cruise through the cosmetics aisle. Way to break my spending ban. I found that many items were 50% and 75% off the retail price! I was ecstatic to find that there were still many lovely products left, and not just an assortment of brown for me to choose from. I absolutely love L'oreal HIP Pigments, and wanted to grab every color that was available but I managed to hold back. Been dying to try the new Revlon ColorBurst lippies for a while, and both were 75% off. I've been more into purple-y and mauve lipsticks so you can kind of see a pattern going on here. Haha!
Anywho, if you want to take advantage of the sale, it's best to go asap because they don't restock on these items. From what I've seen, the sale items usually become discontinued at CVS. Happy shopping!